Phone Won't Charge? Fix Slow Charging Problems Fast
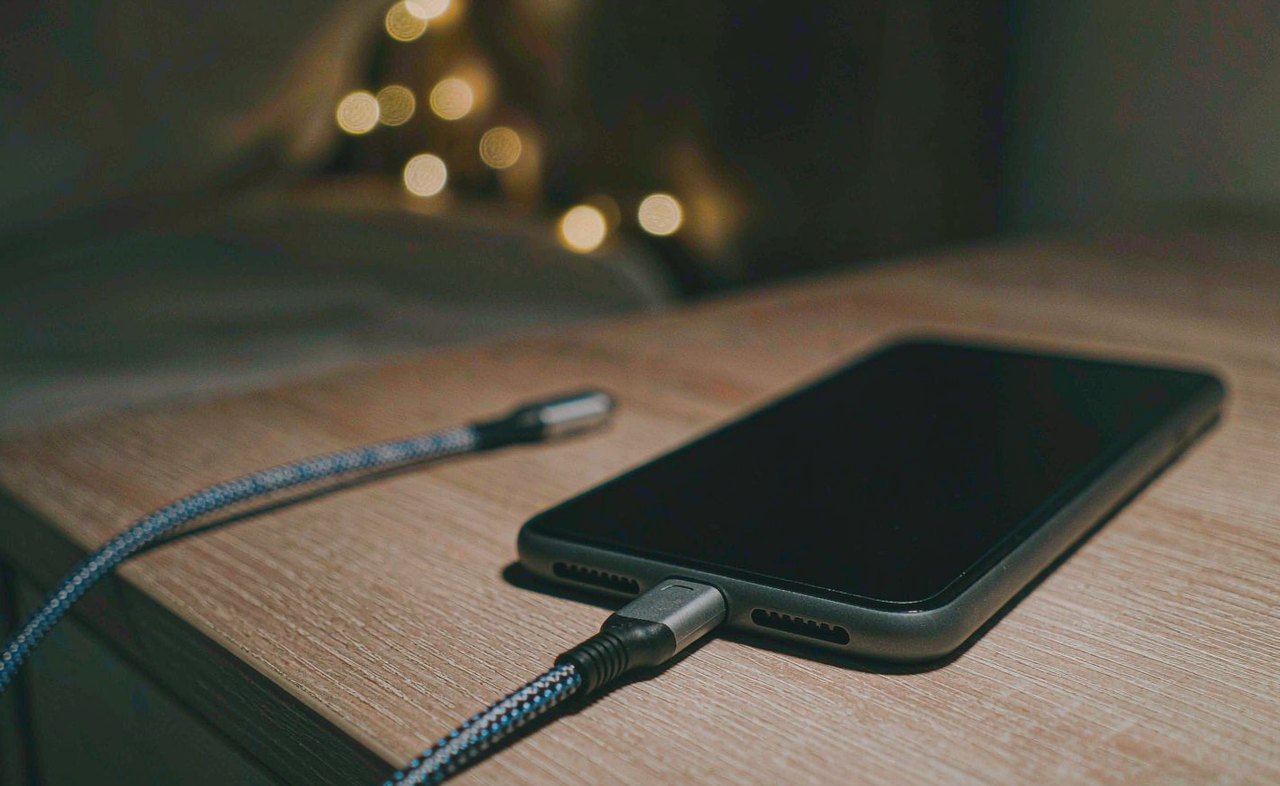
You plug in your phone, expect the charging chime, and get nothing — or the battery crawls from 40% to 43% over an hour. Before you assume the phone is broken, know this: the overwhelming majority of charging problems come from the cheapest parts of the chain — the cable, the adapter, or pocket lint packed into the port — not the phone itself. Work through the steps below in order. They are safe, they take minutes, and they fix most "my phone won't charge" cases without a repair shop.
Step 1: Look Inside the Charging Port
This fixes more dead-charging phones than everything else combined. Phone ports sit at the bottom of the device and quietly collect pocket lint, which compresses into a felt-like plug that stops the connector from seating fully. You will not see it without a light.
- Turn the phone off and shine a flashlight into the charging port.
- If you see compacted fluff, gently dig it out with a wooden or plastic toothpick. Never use a metal pin — the center pins in the port are delicate and shorting them can kill the phone.
- Scrape gently along the walls, pull the lint out in one piece if possible, and test charging again.
The lint plug is the classic symptom: the cable clicks in but feels shallow, or only charges when the cable hangs at an exact angle.
Step 2: Test Cable and Adapter Separately
Cables fail constantly and invisibly — the outer jacket looks fine while the wires inside are broken near the plug ends. Never trust a single cable-and-wall-adapter combination to tell you anything.
- Try a different cable with your charger.
- Try your cable with a different power source — another wall adapter, or a laptop USB port (slow but useful as a test).
- Try a completely different charger if one is available, ideally the original or a reputable brand.
If the phone charges with one combination and not another, you have found your culprit and it costs a few dollars to fix. Avoid no-name gas-station cables: underpowered or poorly made ones cause exactly this intermittent-charging headache, and heat from a bad adapter ages the battery.
Step 3: Restart the Phone
Charging is partly software: the phone's charging controller and the operating system negotiate how much power to pull. A hung process or a glitched USB controller can refuse charging entirely, or stall the negotiation at a trickle. A simple restart clears it. If the phone is so dead it will not restart, let it sit plugged into a working charger for 30 minutes — deeply drained batteries sometimes need that long before showing any sign of life — and then try a forced restart (on most phones, hold the power and volume buttons together for 15–20 seconds).
Step 4: Rule Out Heat and Charging-Limit Settings
Phones deliberately slow or pause charging to protect the battery, and it can look exactly like a fault:
- Heat. Charging under a pillow, in direct sun, or inside a thick case on a warm day can pause charging until the phone cools. Move it somewhere cool, strip the case, and watch charging resume.
- Optimized / adaptive charging. iPhones with "Optimized Battery Charging" and Android equivalents hold the battery at 80% overnight and finish charging before your alarm — useful, but confusing if you do not know it is on. Check whether the phone says "charging paused" or shows the feature active.
- Charge limit. Many phones now let you cap charging at 80% or 85% for battery longevity. If yours is capped, it will never charge past that number — it is a setting, not a fault.
Step 5: Check the Battery Health
An old or damaged battery charges slowly, drains fast, and dies at random percentages. Check its condition:
- iPhone: Settings → Battery → Battery Health & Charging. Below 80% of original capacity, or any "service" message, means the battery is due for replacement.
- Android: Settings paths vary; Samsung offers battery diagnostics in the Members app, and many brands show battery health under Battery settings. Repeated sudden shutdowns at 20–30% also point to a worn battery.
Battery replacement is a normal maintenance cost on a phone older than two or three years — usually far cheaper than a new device.
Step 6: When to Suspect Hardware — and Get Service
Go to a repair option if: the port has visibly bent or missing pins, the phone only charges with the cable pressed at a sharp angle even after cleaning the port, it gets unusually hot while charging, or it shows liquid-detection warnings repeatedly. Water damage in the port is common after beach or pool days; let the phone dry thoroughly for a day (leave it powered off, no rice — it does nothing useful) and try again. At that point a technician can replace the port assembly relatively inexpensively on most models.
What Not to Bother With
Skip the "boost charging" cleaner apps — they cannot change how much power the hardware accepts and mostly add ads. Skip rice for water exposure, and skip aggressive home port repairs with needles or alcohol drenching. And do not keep forcing a failing cable in and out: a wiggling damaged connector can damage an otherwise healthy port.
Quick Checklist
- Port cleaned with a toothpick — lint plug removed
- Cable and adapter tested separately with alternatives
- Restart performed; deeply drained battery given 30 minutes
- Heat ruled out; optimized charging and charge limits checked
- Battery health reviewed (80%+ is healthy)
- Port pins inspected; service contacted if hardware damage is visible
Start with the port and the cable — between them they account for most non-charging phones — and only escalate to battery health and service when those are clean. Nine times out of ten you will be back to a full battery the same evening for the price of nothing at all.