How to Compress Images for Free Without Losing Quality
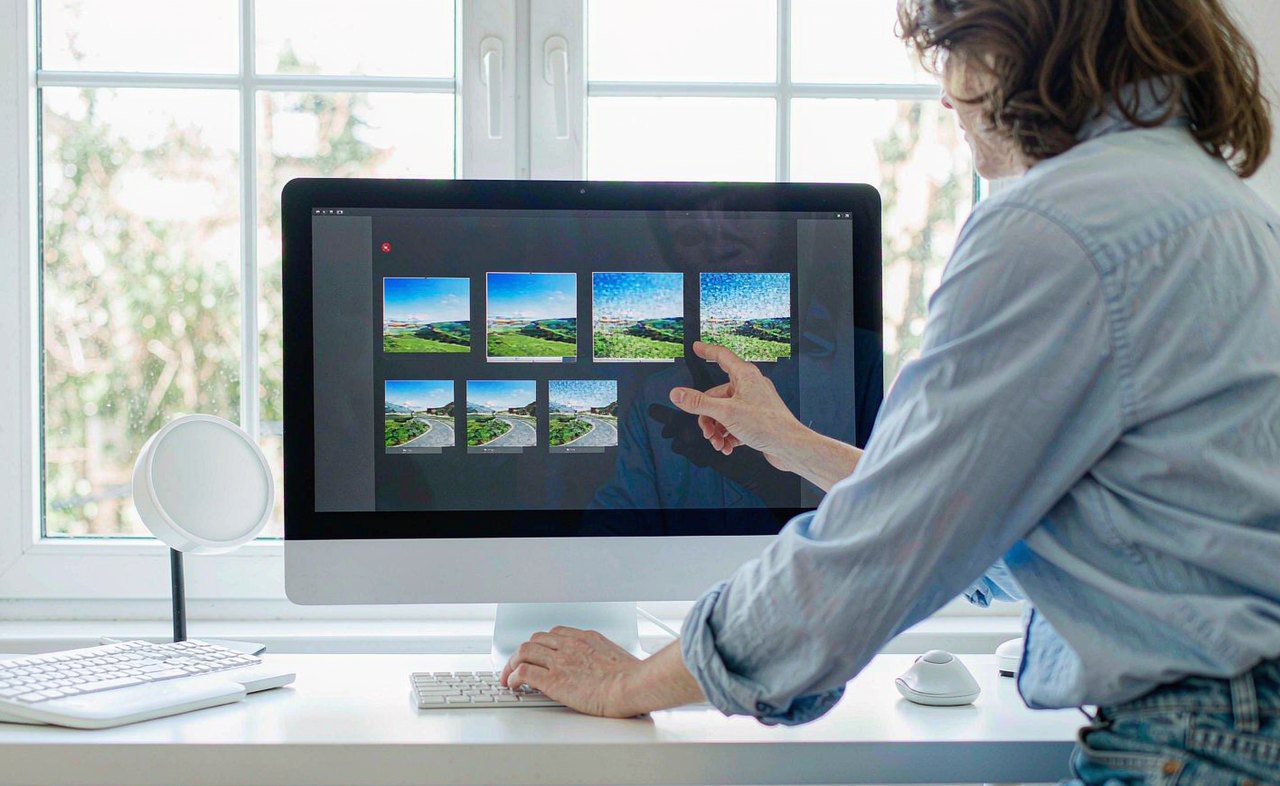
A phone photo routinely weighs 3 to 5 MB, and a folder of them can choke an email, a web page, or a cloud storage quota. The good news is that almost every image carries far more data than it needs, and you can strip that away for free with tools you probably already have. This guide shows the order of operations that matters — resize first, then compress — and which format to choose so the result still looks crisp at 100 percent zoom.
Why images are so big in the first place
Three things drive image file size: the pixel dimensions, the file format, and the quality setting used when saving. A 4000-pixel-wide phone photo has more than four times the pixels of a 1920-wide version, and uncompressed formats like BMP or TIFF store every one of those pixels in full. Formats like JPEG, PNG, and WebP use compression to throw away or reorganize data your eye will not miss — but each does it differently, which is why choosing the right format is half the battle.
Compression comes in two flavors. Lossless compression shrinks the file without discarding a single pixel of information, so you can always get back exactly what you put in. Lossy compression permanently discards detail, carefully targeting the parts human vision is least sensitive to. Lossy wins on file size by a wide margin; the skill is choosing a quality level where the loss is invisible.
Step 1: resize before you compress
Compressing a 4000-pixel photo and then posting it at 800 pixels wide wastes effort. Resizing throws away pixels you never display, which is the single biggest size reduction available and it costs nothing in on-screen quality.
Match dimensions to the destination:
- Full-width image on a website: 1600 to 1920 pixels wide is plenty for modern screens.
- Content-width image inside an article: 800 to 1200 pixels wide.
- Email attachment or chat: 1280 to 1600 pixels wide is usually indistinguishable.
- Profile pictures and avatars: a few hundred pixels each way.
On Windows, the built-in Photos app does this in three clicks: open the image, press the three-dot menu, choose Resize image, and pick a preset or a custom width. macOS Preview and every mainstream free editor have the same feature under Image > Resize or Image > Scale. Keep the aspect ratio locked so nothing stretches.
Step 2: pick the right format
JPEG is the default for photographs. It compresses smooth gradients like skin, sky, and shadows extremely well. Set quality between 75 and 85 and most photos look identical to the original at normal viewing size. Below about 60, you start to see blocky edges and smudged detail around high-contrast borders.
PNG is the right choice for screenshots, diagrams, logos, text, and anything with flat colors or sharp edges. JPEG smears the hard edges of text into visible fuzz; PNG keeps them razor sharp with lossless compression. The trade-off is that PNG is poor at photos — a photograph saved as PNG can be ten times larger than the same photo as JPEG.
WebP is the modern all-rounder: it handles photos and graphics, and at equal visual quality it usually lands 25 to 35 percent smaller than JPEG. Every current browser supports it, so it is a safe choice for anything you upload to the web. Older desktop applications and some devices still expect JPEG or PNG, so keep the original if compatibility is uncertain.
A quick decision rule: photos go to JPEG or WebP, everything with text or sharp edges goes to PNG or WebP, and if in doubt on the web, try WebP first.
Step 3: compress with free tools
For a handful of images, online compressors are the fastest path. Sites like TinyPNG (which despite the name handles JPEG too) and Squoosh run in the browser, need no installation, and show you a side-by-side preview with the exact size saved. Squoosh is particularly useful because it lets you drag a quality slider and watch the trade-off happen in real time before downloading. For anything private or sensitive, remember you are uploading those files to a third party; use a local tool instead.
For batches on Windows, use the tools that stay on your machine. IrfanView (free for personal use) can convert and compress an entire folder in one pass through File > Batch Conversion, letting you set the output format and quality once for hundreds of files. GIMP, the free open-source editor, exports with full control over quality when you use File > Export As. Our tools page lists these and other free utilities worth installing.
On macOS, Preview can export to JPEG with a quality slider (File > Export), and the sips command line tool resizes and converts folders of images in one terminal command for the comfortable-with-terminal crowd.
How much can you actually save?
Realistic results from a typical 4000-pixel, 4 MB phone photo:
- Resized to 1600 pixels wide, saved as JPEG quality 80: roughly 250 to 400 KB — about a tenth of the original, with no visible difference on screen.
- Same resize saved as WebP quality 80: roughly 150 to 250 KB.
- A 1920-pixel screenshot saved as PNG instead of JPEG: often half the size of the JPEG and noticeably sharper around text.
The exact numbers vary with image content — busy textures compress less than clean skies — but the pattern holds: resize first, and format choice matters as much as the quality slider.
Mistakes that make images look bad
- Re-compressing a JPEG repeatedly. Every save-as-JPEG pass adds new artifacts. Always edit from the original and export once.
- Cranking quality to 100. JPEG at 100 wastes enormous space on differences nobody can see. Quality 80 exists for a reason.
- Upscaling to "restore" quality. Enlarging a small image adds pixels but not detail. Keep the resized copy alongside the original instead of overwriting it.
- Sending screenshots as JPEG. Text edges suffer immediately. PNG keeps them clean and is often smaller anyway.
A workflow worth keeping
Keep originals in one untouched folder, and export optimized copies to a second folder whenever you need them — email, web upload, or chat. Ten seconds per image buys you tenfold smaller files, faster pages, and happier recipients. If your storage troubles go beyond images, the same resize-first-then-compress logic applies to video and documents too, and our guide to compressing large files without losing quality covers the rest. More step-by-step guides live on the blog index.