Clean Install Windows 11 from a USB Drive: Walkthrough
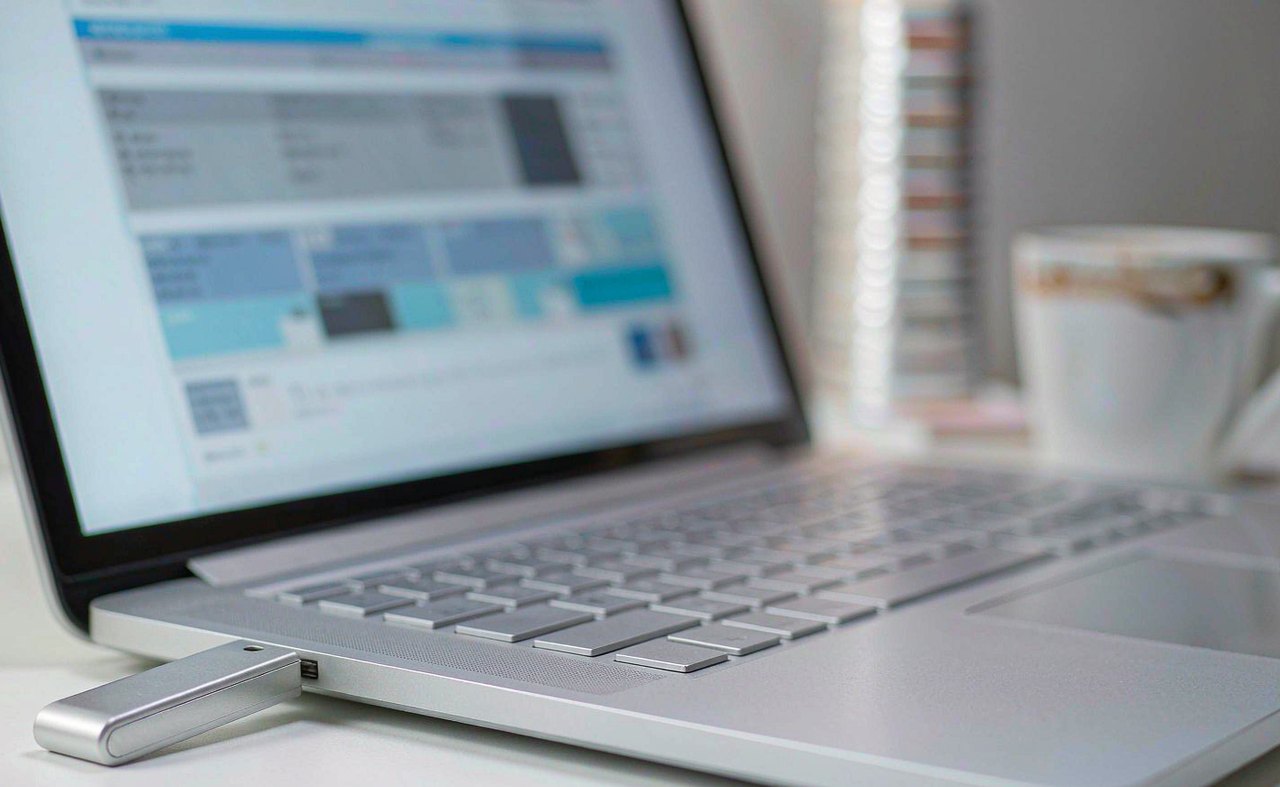
Sometimes an old Windows installation is beyond tuning. Startup takes minutes, settings panels behave strangely, and no amount of cleanup quite removes the feeling that the system is carrying ten years of leftovers. A clean install — wiping the drive and installing Windows 11 from a USB stick — fixes that in about an hour, and it is also the right move when selling a PC or recovering from malware that survived normal removal. Microsoft's own installer does nearly all the work; this guide covers the decisions along the way.
Step 1: Back Up Before You Wipe Anything
A clean install erases everything on the Windows drive: documents, photos, browser bookmarks, saved game progress, application licenses. Before touching the USB stick, copy what matters to an external drive or a cloud folder, and check the easy-to-forget spots:
- The Desktop, Documents, Downloads, and Pictures folders — the usual homes for everything important.
- Browser data: sign into your browser's sync account, or export bookmarks to an HTML file from the bookmarks manager.
- License keys: note any paid software serials. Microsoft Store apps and most subscriptions reactivate automatically, but standalone licenses usually need the key written down.
- Email: if you use a mail program with local storage rather than webmail, locate and copy its data file.
If you want a belt-and-braces approach, our guide to backing up a computer to an external drive walks through a full image backup, which also lets you pull individual files out afterward if something was missed.
Step 2: What You Need
- A USB flash drive of 8 GB or larger. Everything on it will be erased, so pick one with nothing valuable on it.
- A working Windows PC to create the installer (it does not have to be the machine being reinstalled).
- An internet connection for downloads and, later, updates.
- Time: roughly 60–90 minutes end to end, most of it unattended.
One useful check before you start: the machine should meet Windows 11's requirements (TPM 2.0 and a supported CPU among them). If the PC currently runs Windows 11, this is a non-issue; if you are coming from Windows 10, run Microsoft's PC Health Check app first so you are not surprised halfway.
Step 3: Build the Installer with Microsoft's Media Creation Tool
Always get the installer from Microsoft directly — search for "Download Windows 11" and use the microsoft.com result. Third-party "ISO mirror" sites are an unnecessary malware risk.
- Download the Media Creation Tool (labeled "Create Windows 11 Installation Media") and run it.
- Accept the license, confirm the language and edition (the defaults match most machines — the installer auto-detects the right edition from your license), and choose USB flash drive.
- Select your 8 GB+ stick from the list and let the tool work. It downloads the current Windows 11 build, formats the stick, and makes it bootable. Expect 20–40 minutes depending on your connection.
- When it reports success, leave the stick plugged in or safely eject it if you created it on another PC.
Building the installer on the day you need it is worth the wait: the USB will contain the newest Windows build, which means far fewer updates to install afterward.
Step 4: Boot the Target PC from the USB Stick
Plug the installer into the PC you are reinstalling, then restart it and tap the boot menu key as soon as the manufacturer logo appears. The key varies by brand:
- Dell: F12
- HP: F9 (or Esc, then F9)
- Lenovo: F12 (or the Novo button, a small pinhole near the power port)
- ASUS: F8 or Esc
- Acer: F12 (may need enabling as "F12 Boot Menu" in BIOS first)
- Surface: hold Volume-Up while pressing and releasing power
Menu layouts change between BIOS versions, so if a key does not respond, search "
Step 5: Wipe the Right Partition and Install
After the installer loads its blue interface, choose language and keyboard, click Install now, and enter your Windows key — or click "I don't have a product key", which is fine on a machine that already ran Windows 11: it activates automatically from the hardware's embedded license once online.
- Accept the license terms, then choose Custom: Install Windows only (advanced) — this is the option that allows a true wipe.
- You now see the drive's partition list. On a typical single-drive PC you will see a small system partition, a recovery partition, and the large Primary partition (often labeled Drive 0).
- Delete the partitions on the drive you are reinstalling until only "Unallocated Space" remains, then select it and click Next. The installer creates fresh partitions automatically.
- Let Windows copy files and reboot several times. Unplug the USB stick when the first restart begins, or simply let the setup continue — modern installers handle it.
If the PC has two drives, be certain which one you are deleting: the sizes shown in the partition list are your guide. Drives with data you want to keep should be left untouched — deleting a partition is the one step in this process with no undo.
Step 6: First Boot and Account Setup
Windows now runs its setup wizard: region, keyboard, Wi-Fi, and account. On Windows 11 Home connected to the internet, Microsoft steers you toward a Microsoft account; entering your existing Microsoft address and password here is also how your settings and licenses reattach. If you prefer a local account on Home edition, choose the offline-account option from the account screen (its wording varies by build; the Sign-in options page is where it hides).
On the privacy screen, toggle off telemetry and advertising-ID options you do not want — each is explained on its own screen, and every choice can be changed later in Settings.
Step 7: The Half Hour After Installation
The install is not finished at the desktop; a short checklist makes it fully operational:
- Run Windows Update immediately (Settings → Windows Update) and let it install everything, including driver updates; reboot when asked, twice if it asks twice.
- Check activation: Settings → System → Activation should read "Windows is activated with a digital license".
- Restore your files from the external drive, sign back into the browser, and reinstall your applications.
- Reinstall BitLocker recovery needs: if the previous install used BitLocker, your recovery key (printed or saved to your Microsoft account) remains relevant for any encrypted backups; store it where you can find it.
If an odd device has no driver after updates — an older printer, a specialty sound card — grab it from the manufacturer's support page rather than a "driver updater" utility; the built-in Windows Update drivers cover everything standard.
Clean Install or Factory Reset?
Windows 11 also offers a built-in reset (Settings → System → Recovery), which reinstalls Windows without a USB stick. The factory-style reset is faster and fine for routine refreshes, but it restores the manufacturer's bundled software and occasionally reuses the same corrupted system files. The USB clean install is the thorough version: pure Microsoft media, brand-new partitions, nothing inherited — which is why it remains the definitive fix for a system that has resisted everything else. Our guide to resetting a Windows PC safely covers the built-in route in detail if that suits your situation better.
An hour of wiping beats a weekend of fighting: a clean Windows 11 install costs one USB stick and one backup, and returns a machine that boots like the day it left the factory.
Afterwards, the same rules that keep any Windows install healthy apply: keep updates flowing, avoid bundled "free" utilities from download portals, and give the machine a restart every week or two. The blog index collects the rest of the Windows maintenance series, and the tools page lists free utilities worth keeping on a fresh system.